Attention: Sometimes we receive a commission when you make a purchase through the links on our site.
On this page you’ll find step by step plans for a DIY chicken waterer. You can choose between using cups or nipples. I’ve only used nipples and had great results. The cups look intriguing and I think I will use them on my next waterer build. These waterers are fantastic to use because they keep the water clean and you don’t have to refill them everyday.
Materials Needed:
- 5 gallon bucket with lid (I recommend a darker colored bucket to help keep algae growth down, but any color works)
- Drill and drill bit
- Chicken watering cups or nipples
- Blocks or platform
Instructions:
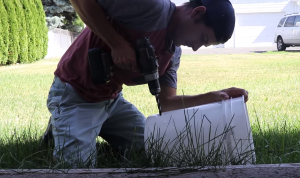
Step 1: Drill Holes in Bucket

Use a drill bit size recommended by the manufacturer of your watering cups or nipples. Some cups and nipples are screw in so you are only drilling a pilot hole. Make sure you follow the instructions provided or else you’ll be buying a new bucket. Nipples will be installed on the bottom of the bucket and cups go on the side. For cups, I recommend drilling your holes a lot lower than is pictured. I would put them as low as possible. This will give you more usability in your water amount. Make sure there is some space between each nipple or cup. You don’t want crowding. You will want one nipple or cup for every 3-4 birds.
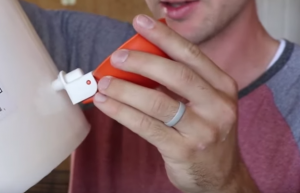
Step 2: Install Cups or Nipples

There are several different ways of installing depending on your specific cup or nipple. Some (as pictured) you simply push through the outside and twist a piece on the inside which holds the cup tight and seals all water. Others you have to screw into the pilot hole you drilled. These can be a little more difficult to get the threads started. But again, follow the instructions provided.
We received nipples for waterers from Heritage Acres Market. These are the best nipples I have seen so far and highly recommend you use them when you build your waterer.
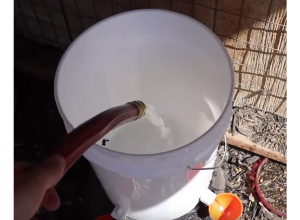
Step 3: Fill It Up

If you used cups, put your bucket on the blocks or some type of platform. This will raise the cups up so your chickens can easily drink. Fill the bucket up part way and make sure your holes are not leaking and that the cups are working as they should.
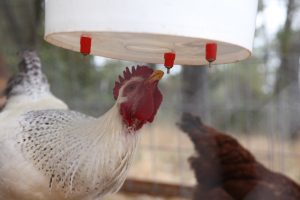
If you are doing nipples, you want it to look like this:

I’ve hung my waterers from the rafters of my coop with chain and a hook. I’ve seen pictures of decorative hangers with waterers hanging from them. Its kind of up to you with how primitive or decorative you want to be. You’ll want the chickens to be able to walk underneath but not too high they can barely reach the nipples. If you have a growing flock, try to set it up so its adjustable. As the chickens get taller, you can raise the waterer higher.
You’re Done!
Enjoy the time savings with having a chicken waterer. They are better for you and your flock. You can watch the step by step video directions here:
Remember to share this post on social media. Sharing is caring and helps us keep growing here at BackyardChickensHQ.
